The Guide to Central AC Installation
How Long Does Central AC Installation Take?
The timeline for completing a central AC installation can vary. It depends on the complete scope of work involved. For example, installing ductwork from scratch will require nearly twice as much time as upgrading an existing system.
With a qualified team of HVAC specialists working on your central AC installation, you can expect the project to take no longer than a week. If ductwork already exists in your home, it will only take a few days.
What’s the Cost?
Installing central air conditioning is a significant investment in your indoor air quality. As with the timeline, the cost can also vary. This is based on the size of your home and whether or not ductwork needs to be installed from scratch.
Installing central AC in an average-sized home with existing ducts (1,500-2,000 sq ft.) will usually cost above $3,000 but not more than $5,000. If the home requires ductwork, you can expect to spend around $7,000-$10,000.
Investing in upgraded central air can help add value to your home. This, however, depends on the other homes in your neighborhood.
For example, if you own a home in a newer development where all houses have central air, it will not contribute any additional value. Conversely, if your home is located in an older neighborhood where most homes do not have central AC, it becomes a unique feature you can advertise to interested buyers.
The Central AC Installation Process
Now that we have covered the basics, let’s review the step-by-step process for installing central air.
Step 1: Ask for a Quote
Search online for local HVAC contractors near you. At Advanced Heating and Cooling, we serve customers in the Treasure Valley, Idaho area. This includes Boise, Meridian, Nampa, Caldwell, and the surrounding areas.
When you contact our team, one of our dedicated residential HVAC specialists will visit your home to give an estimate. This process involves examining any existing air conditioning equipment or the parts of your home where the air ducts would be installed.
Step 2: Selecting the Right Central AC Unit
Your HVAC contractor will make a recommendation for an AC unit. This is based on factors such as the size of your home and local climate.
The most important factors that determine the best AC unit for your home include:
Unit Size
HVAC manufacturers offer units in multiple sizes to accommodate different climates and home sizes. In most cases, your contractor will help determine the optimal size for your property.
SEER Score
An AC unit’s seasonal energy efficiency rating (SEER) determines the system’s overall performance. For example, high-SEER units will offer benefits like reduced operating costs, less energy consumption, increased safety and will make less noise.
Do note, high-SEER units will often cost more upfront. However, they result in additional savings over time and can prove a better return on your investment.
Unit Functionality
Manufacturers offer two general types of AC units: package systems and split systems. The less-common package systems offer an “all-in-one” experience by including all components in a single housing. This type of unit attaches straight to the ducts in your home.
Split systems place the condenser outside and the coil and fan inside. The system’s interior half is most often housed in the attic. They are joined via pipes that transmit refrigerant between the two halves.
Step 3: Placing the Unit on Your Property
When installing central AC, location matters. Every air conditioner promises two challenges: They take up space and they make noise. This raises an important question. What is the ideal location to place your unit?
We recommend that you place the unit somewhere inconspicuous and away from bedrooms. Oftentimes, many customers select their side-yard or an area near their kitchen or laundry room. This helps reduce the amount of noise near parts of your home where you sleep, relax, and work.
Step 4-A: Inspect Existing Ductwork
If your home has existing ductwork, ask your contractor to examine it. They can identify any structural damage and repair or replace it before installing the new system. If ducts are leaking, this can weaken the airflow in your home and increase your energy costs.
Step 4-B: Plan New Duct Installation
If your home needs ductwork installed for the first time, your contractor will examine your home’s layout and draft an installation plan. This ensures the most efficient airflow for your home’s specific floor plan.
Step 5: Installation
For homes with existing central AC installations, your contractor will place the unit in its intended location. As mentioned before, if you are installing a split system, part of it will be housed indoors; most commonly in the attic.
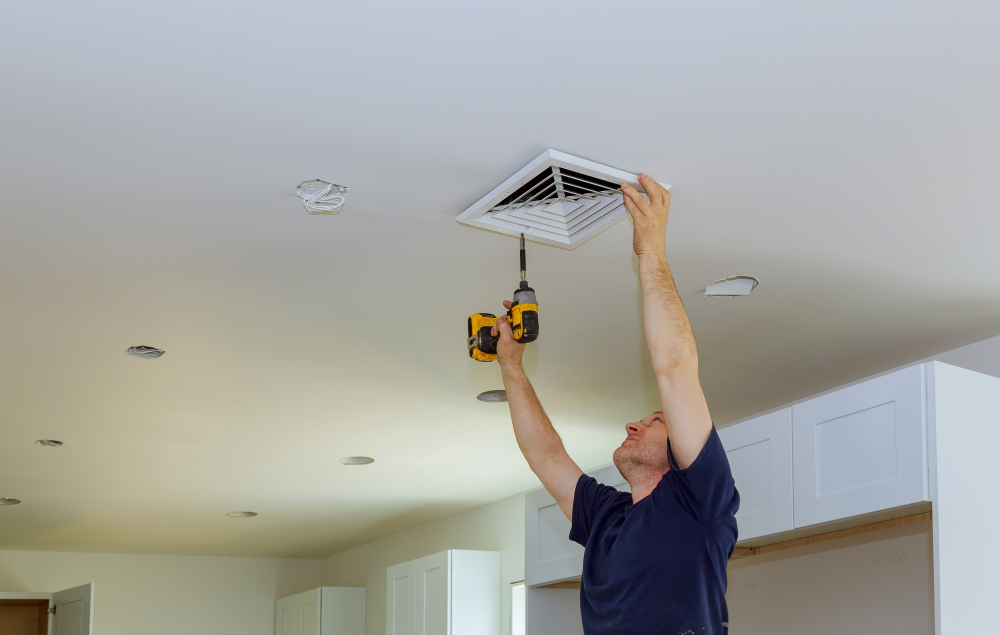
If your home requires first-time ductwork, your contractor will often install it before your system. Contrary to popular perception, this process does not create a large mess. It mostly involves cutting small, rectangular holes in the drywall to house the vents.
Get Central AC Installation in Idaho
If you are an Idaho resident looking to upgrade or install new central AC in your home, we are here to help. Contact Advanced Heating & Cooling for more information on how our Residential HVAC Team can assist you or schedule your appointment online.


